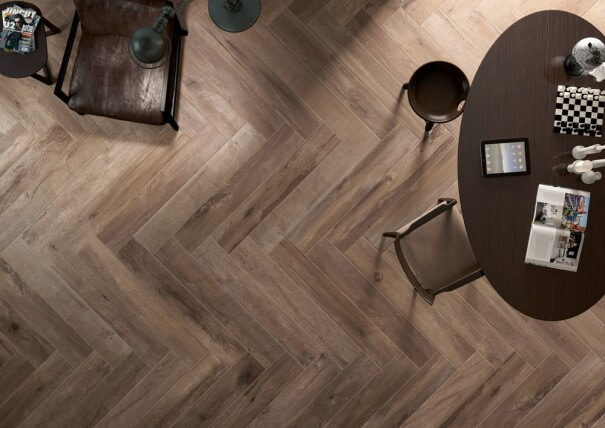
Porcelain tiles are renowned for their durability, versatility, and aesthetic appeal, making them a popular choice for both residential and commercial spaces. Composed of fine porcelain clay and fired at high temperatures, these tiles boast exceptional strength and resistance to moisture, stains, and wear.
Importance of Proper Installation
While the quality of porcelain tiles is undisputed, the longevity and performance of a tiled surface heavily depend on the installation process. Proper installation not only enhances the visual appeal of the tiles but also ensures structural integrity, minimizing the risk of issues such as cracking, shifting, or water damage.
Overview of the Installation Process
Installing porcelain tiles is a meticulous process that requires careful planning, precise measurements, and the use of specialized tools and materials. From surface preparation to grouting and sealing, each step plays a crucial role in achieving a flawless and long-lasting result. In this guide, we’ll delve into the intricacies of porcelain tile installation, providing expert tips and insights to help you master this essential skill.
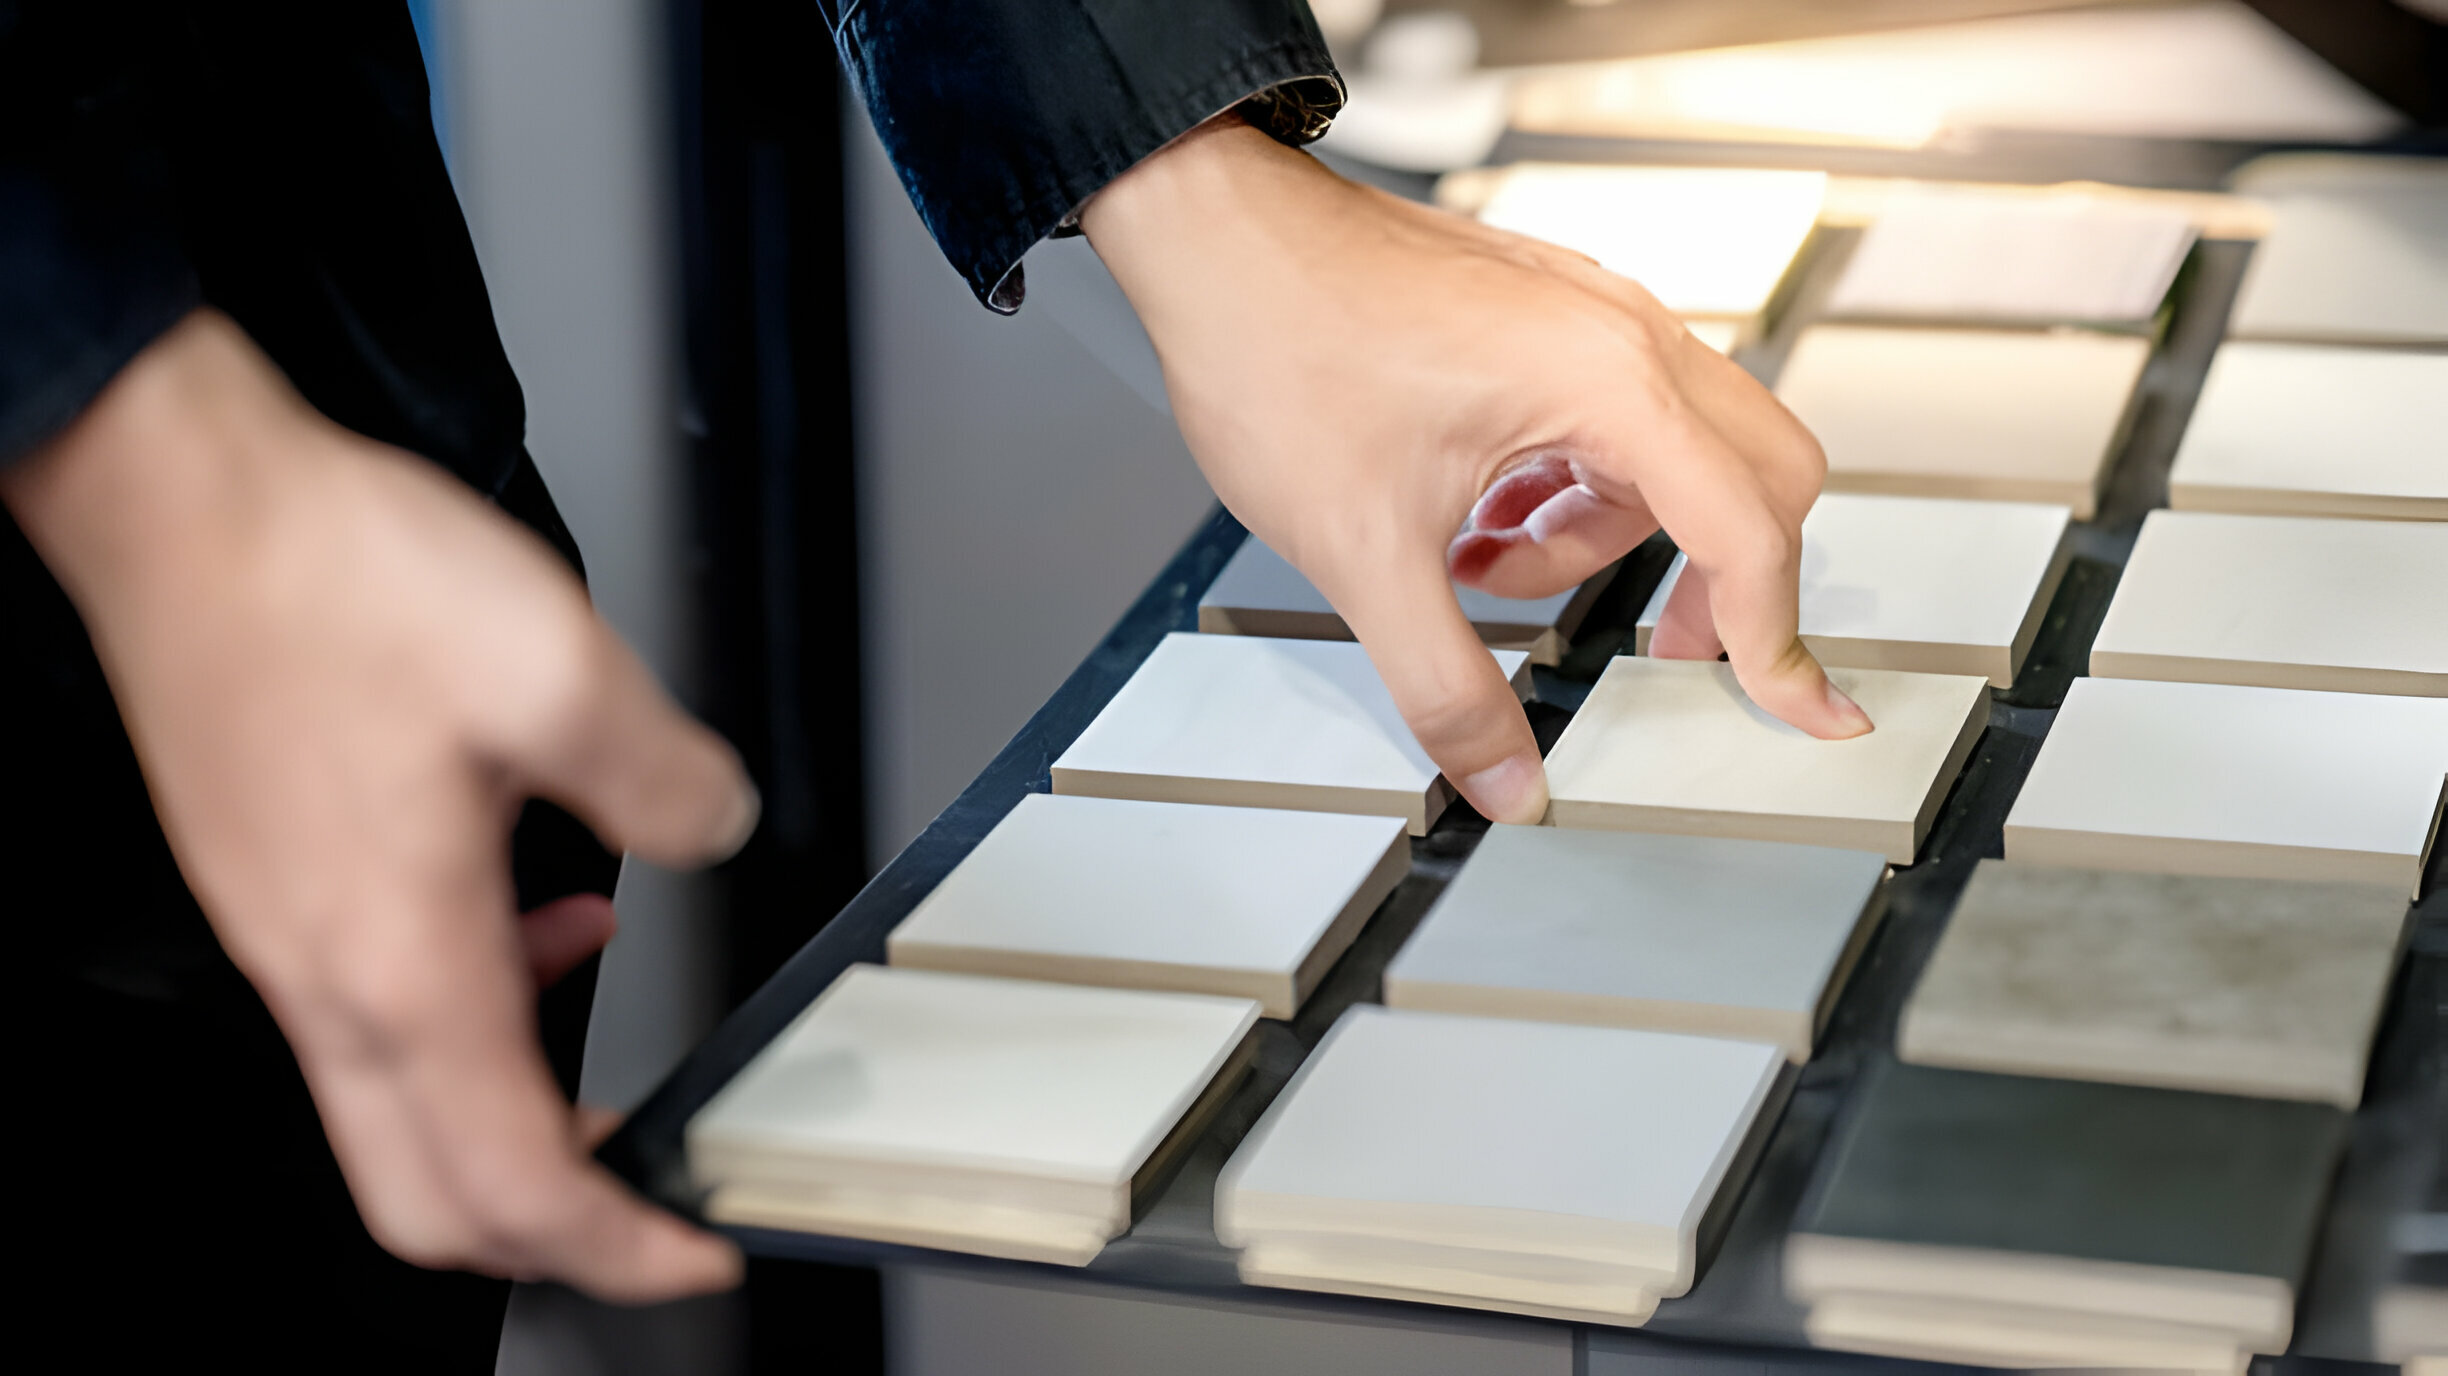
Pre-Installation Preparation for Porcelain Tiles
Before embarking on your porcelain tile installation journey, it’s essential to gather the necessary tools and materials to ensure a smooth and efficient process. Here’s a comprehensive list to get you started:
| Tools | Materials |
| Tile cutter or wet saw | Porcelain tiles |
| Notched trowel | Thin-set mortar |
| Margin trowel | Grout |
| Rubber mallet | Tile adhesive (if needed) |
| Tile spacers | Backer board (if necessary) |
| Level | Waterproofing membrane (if applicable) |
| Measuring tape | Primer (if required) |
| Chalk line | Grout sealer |
| Grout float | Caulk |
| Sponge | |
| Bucket | |
| Safety glasses | |
| Dust mask | |
| Knee pads |
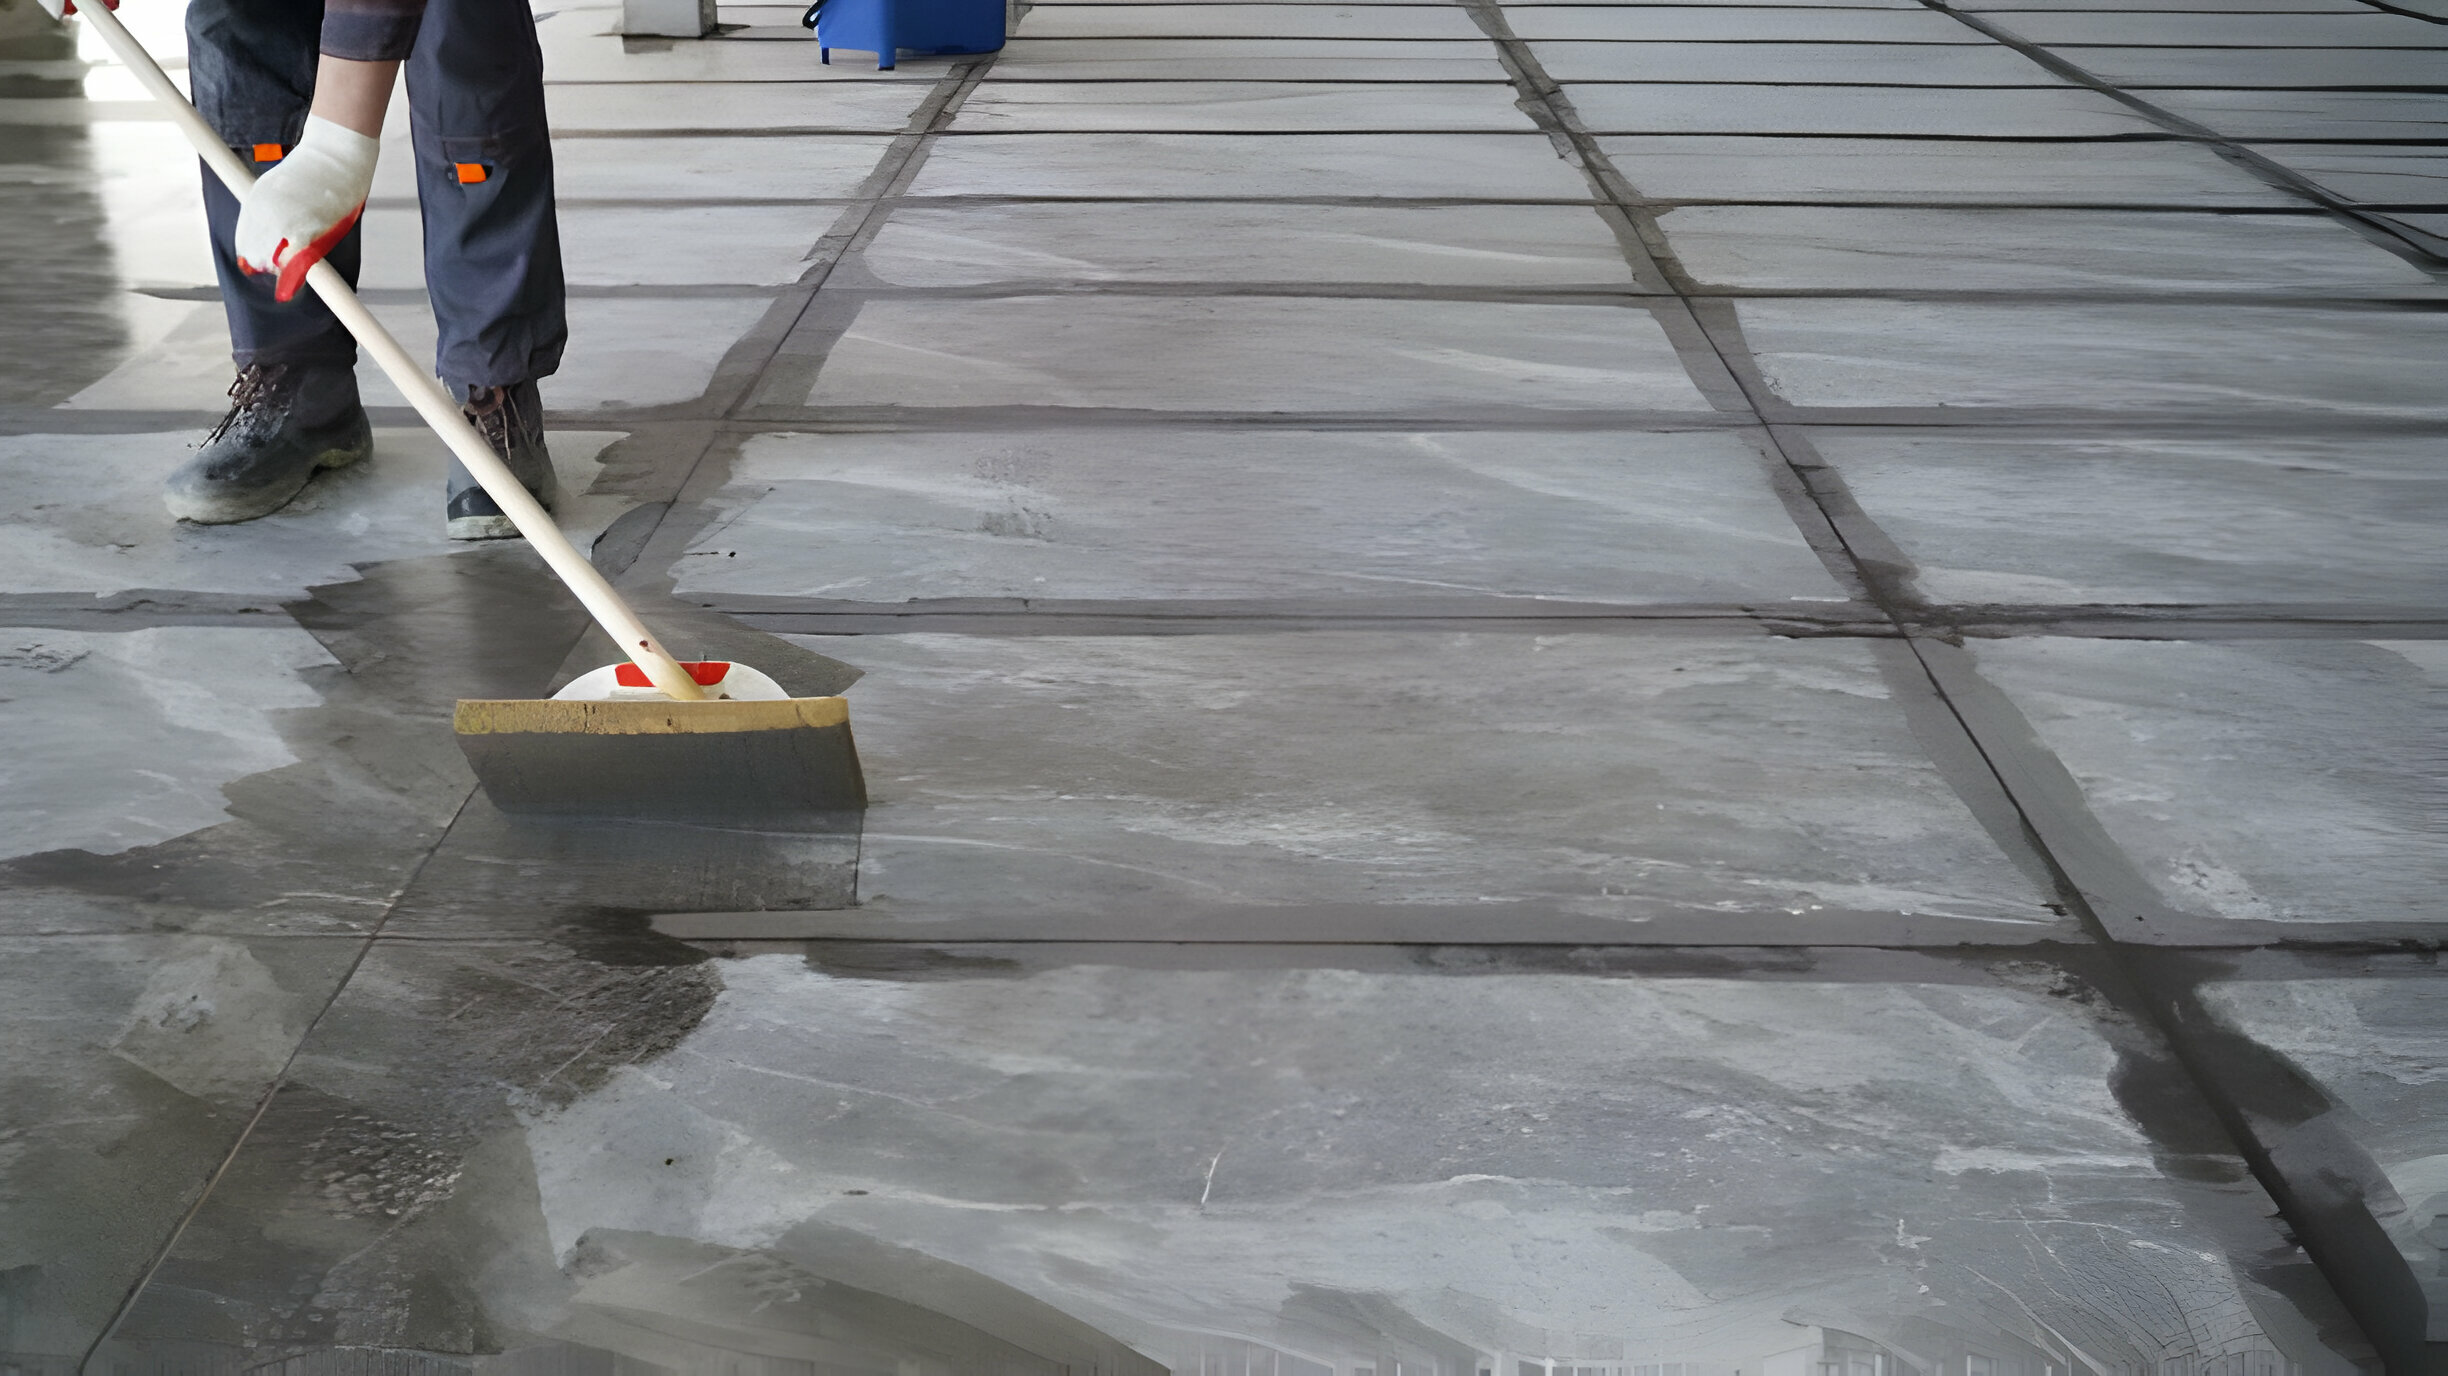
Subfloor Inspection and Repair
Begin by thoroughly inspecting the subfloor to identify any imperfections or damage that could compromise the integrity of the tile installation. Look for signs of unevenness, cracks, or rot, and address any issues accordingly. Repair or replace damaged subflooring as needed to ensure a stable foundation for the tiles.
Subfloor Cleaning and Leveling
Next, clean the subfloor surface to remove any debris, dust, or adhesive residues that could interfere with the bonding of the tiles. Use a vacuum cleaner followed by a damp mop to achieve a clean and smooth substrate. If the subfloor is uneven, level it with a self-leveling compound or install a backer board to create a flat and stable surface for the tiles. Ensure that the subfloor is completely dry before proceeding with the installation to prevent moisture-related issues.
How To Install Porcelain Tiles
Step 1: Mixing the mortar or thin-set
Before you begin laying porcelain tiles, it’s crucial to mix the mortar or thin-set to the right consistency. Follow the manufacturer’s instructions for the proper ratio of water to mortar powder. Use a mixing paddle attached to a drill to achieve a smooth, lump-free consistency. Allow the mortar to slake (rest) for a few minutes before remixing it to ensure optimal bonding properties.
For the best tile installation materials, explore our curated collection. From high-quality mortars to premium grouts, we offer everything you need for a flawless tile installation.
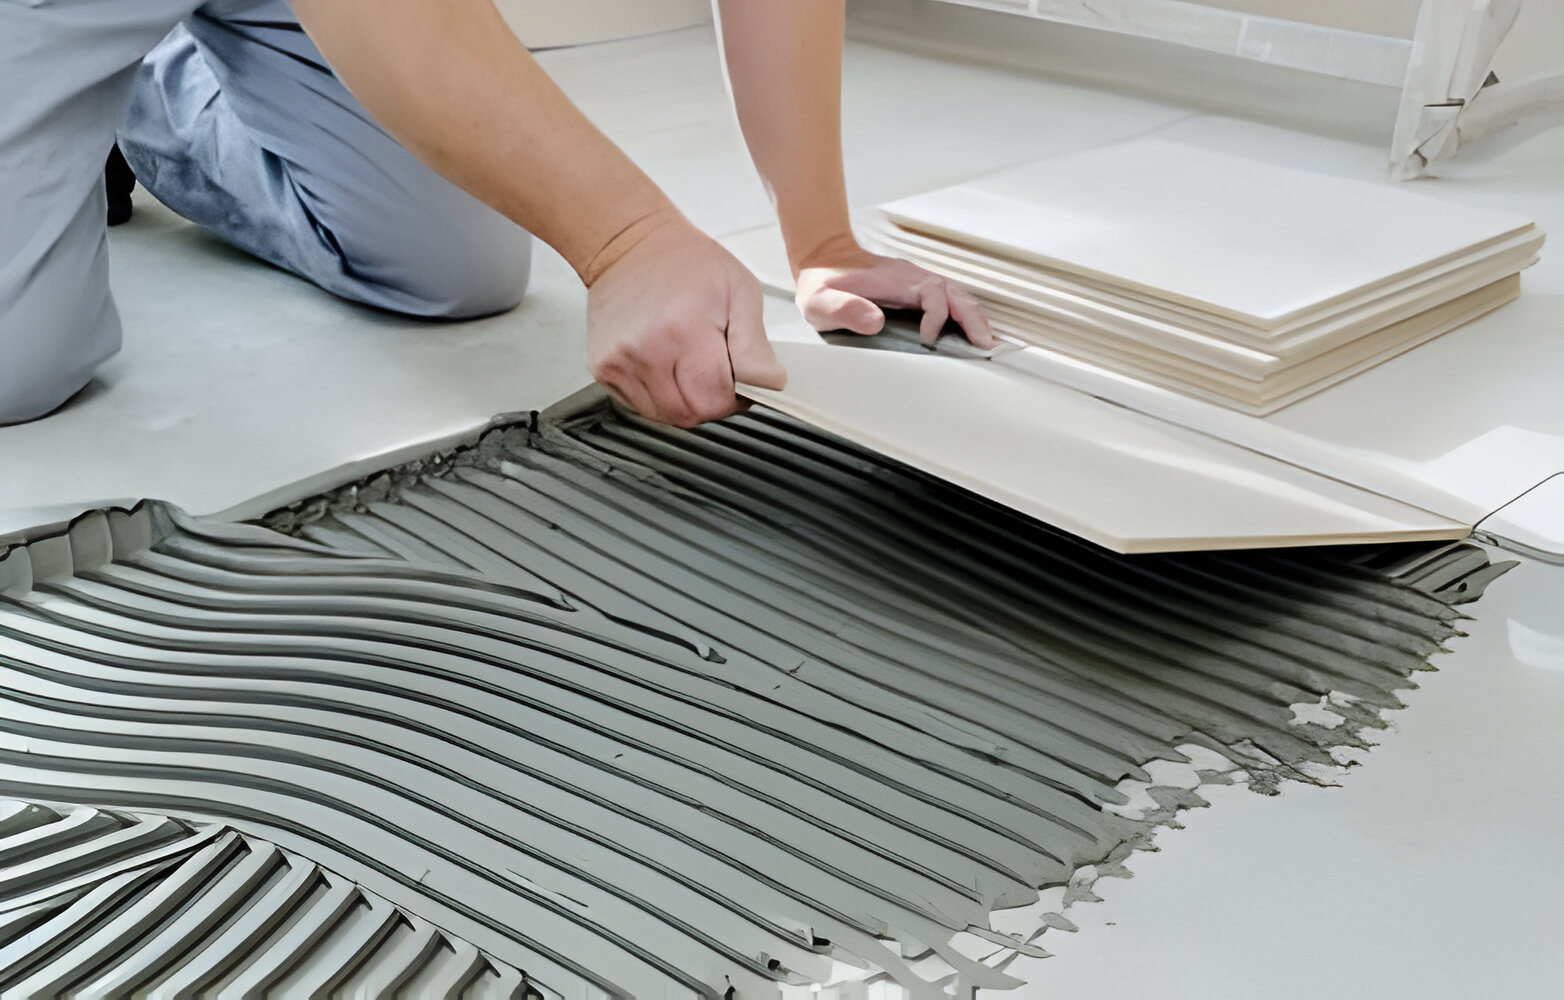
Step 2: Applying mortar or thin-set
Applying mortar or thin-set is a pivotal stage in the porcelain tile installation process, laying the groundwork for a sturdy and enduring foundation. To commence, it’s prudent to work in manageable sections, ensuring the mortar remains workable throughout the process. Employing a notched trowel, adeptly spread the mortar over the prepared subfloor, maintaining a consistent 45-degree angle and exerting even pressure to produce uniform ridges. Starting from a designated corner, progress systematically across the floor, gradually covering the designated area. It’s imperative to strike a balance, applying sufficient mortar to facilitate adhesion without overloading the surface. This methodical approach ensures an even distribution of mortar, crucial for the stability and longevity of the tile installation. Additionally, periodically assess the texture and consistency of the mortar, making adjustments as necessary to maintain an optimal working condition. Once applied, allowing a brief period for the mortar to set enhances its bonding properties, fortifying the connection between the tiles and the subfloor. This meticulous application sets the stage for a seamless and resilient tile installation, poised to withstand the tests of time with steadfast durability.
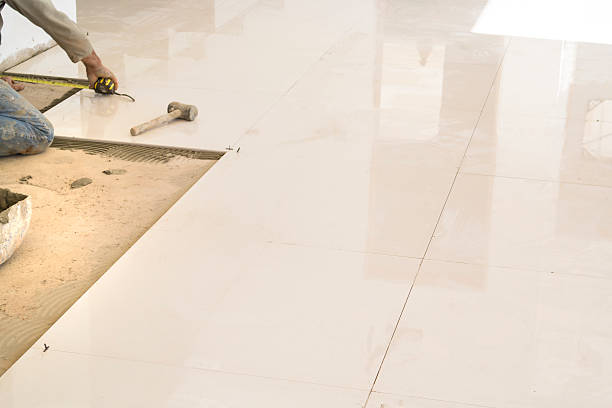
Step 3: Placing the tiles
Placing the tiles is a pivotal step in the porcelain tile installation process, demanding precision and attention to detail to achieve a flawless finish. With the prepared mortar or thin-set in place, carefully position each tile within its designated spot, exerting firm pressure to ensure proper adhesion. Beginning from a predetermined starting point, typically a corner or central axis, methodically works outward to cover the designated area. As each tile is laid, meticulously align it with neighboring tiles and adjust the spacing as necessary using tile spacers. This deliberate approach ensures uniformity in spacing and alignment, culminating in visually pleasing grout lines and a cohesive aesthetic.
Continuously monitor the level of the tiles as you progress, using a level to confirm that they lie flat and even across the surface. Any discrepancies can be addressed promptly by adjusting the position of the tiles or tapping them gently into place with a rubber mallet. Adhering to this meticulous process guarantees not only an aesthetically pleasing result but also a structurally sound installation that withstands the rigors of daily use. By methodically placing each tile with precision and care, you lay the foundation for a porcelain tile surface that exudes quality and craftsmanship, elevating the aesthetic appeal of any space.
Step 4: Cutting tiles to fit
Cutting tiles to fit around obstacles or along edges is a necessary skill in porcelain tile installation, requiring precision and attention to detail. Utilizing a tile cutter or wet saw, carefully mark the tiles with a pencil or tile marker according to your layout plan. Take your time with each cut, ensuring accuracy and precision to achieve a seamless fit. Remember to wear safety glasses to protect your eyes from any tile shards or debris generated during the cutting process.
To calculate the number of tiles needed, measure the length and width of the area to be tiled and multiply these dimensions to find the total square footage. Subtract any areas that won’t be tiled, and then divide the remaining square footage by the size of the tiles to determine the quantity required.
Whether it’s intricate shapes or simple straight cuts, approach each tile with care and patience to achieve the desired result. Measure twice and cut once to minimize errors, and always err on the side of caution by cutting slightly less than needed, as it’s easier to trim off excess than to add more tile. By mastering the art of cutting tiles to fit, you ensure a professional-quality installation that seamlessly integrates with the surrounding space, enhancing both functionality and aesthetic appeal.
Step 5: Spacing and leveling
Spacing and leveling play pivotal roles in ensuring a professional and visually appealing porcelain tile installation. Throughout the laying process, maintaining consistent spacing between tiles is essential for achieving uniform grout lines and a polished finish. Utilizing tile spacers helps to achieve this consistency, ensuring that each tile is positioned with precision and accuracy. These spacers act as guides, preventing tiles from shifting and ensuring that grout lines are consistent in width throughout the installation. Additionally, periodic checks with a level are imperative to guarantee that the tiles are flat and even, eliminating the risk of uneven surfaces or potential trip hazards.
Leveling is equally critical to achieving a flawless tile surface. Using a level, assess the flatness of the tiles regularly, adjusting them as needed to create a smooth and even surface. Any discrepancies in tile height can be addressed by gently tapping the tiles into place with a rubber mallet or by adding or removing mortar beneath individual tiles. This meticulous attention to spacing and leveling not only enhances the aesthetic appeal of the tiled surface but also ensures its structural integrity, creating a durable and long-lasting installation that stands the test of time.
Step 6: Grouting
Grouting is the final step in the porcelain tile installation process, essential for filling the gaps between tiles and reinforcing their stability. Once the tiles are firmly in place and the mortar has cured, mix the grout to a thick, paste-like consistency and apply it to the joints using a grout float. Work the grout into the joints at a 45-degree angle, ensuring full coverage and a flush finish. It’s crucial to work in small sections to prevent the grout from drying out too quickly, and to remove any excess grout from the tile surface promptly with a damp sponge. After allowing the grout to set for the specified time, typically around 15-30 minutes, wipe away any remaining haze with a clean, damp sponge. This final touch ensures a clean and polished appearance, completing the porcelain tile installation with professional finesse.
Step 7: Cleaning excess grout
Cleaning excess grout is a crucial final step in the porcelain tile installation process, ensuring a clean and polished finish. Once the grout has been applied and allowed to set for the specified time, typically around 15 to 30 minutes, it’s time to remove the excess grout from the surface of the tiles. Using a damp sponge, gently wipe the surface of the tiles at a 45-degree angle, working in circular motions to remove any residual grout. Rinse the sponge frequently in clean water to prevent smearing and ensure thorough cleaning.
Summary
Mastering the art of porcelain tile installation requires meticulous attention to detail and adherence to key principles. From properly mixing and applying mortar to precise tile placement and thorough grout cleaning, each step plays a critical role in achieving a flawless result. For DIYers embarking on this rewarding endeavor, remember that with patience, practice, and the right guidance, you can transform any space with the timeless beauty and durability of porcelain tiles. Don’t be discouraged by challenges along the way—embrace them as opportunities to hone your skills and create something truly remarkable.
If you’re in search of top-quality porcelain tiles, look no further than Tile Factory Outlet for the best selection and value. With a reputation for excellence and a wide range of styles to choose from, Tile Factory Outlet ensures you’ll find the perfect tiles to suit your needs and preferences.